Build the iDempiere Project using Eclipse with buckminster
Posted on Wed 07 September 2011 in iDempiere
This tutorial explains the setup of an development environment for building the iDempiere project.
First download a the newest Helios(3.6) version of Eclipse. Be careful Helios is not the newest version of Eclipse but you need the newest version of Helios 3.6.2.x.
Now start Eclipse and install the following plugins.
- buckminster core
- buckminster maven
- buckminster pde
- mecurialeclipse (optional if you want to commit out of eclipse)
------>
Update (2014-06-03):
I just tested this tutorial with Java 1.7.0 and Eclipse Kepler SP2 (4.3) on my Mac Book and it worked like a charm.
For all who are using the new Eclipse release this is possible, too.
Here is the Buckminster update pages I used for installing the plugins:
<--------
Next step is to download the sources via mecurial:
hg clone https://bitbucket.org/idempiere/idempiere idempiere
This new created directory needs to be your workspace in Eclipse. You can select this at startup of Eclipse.
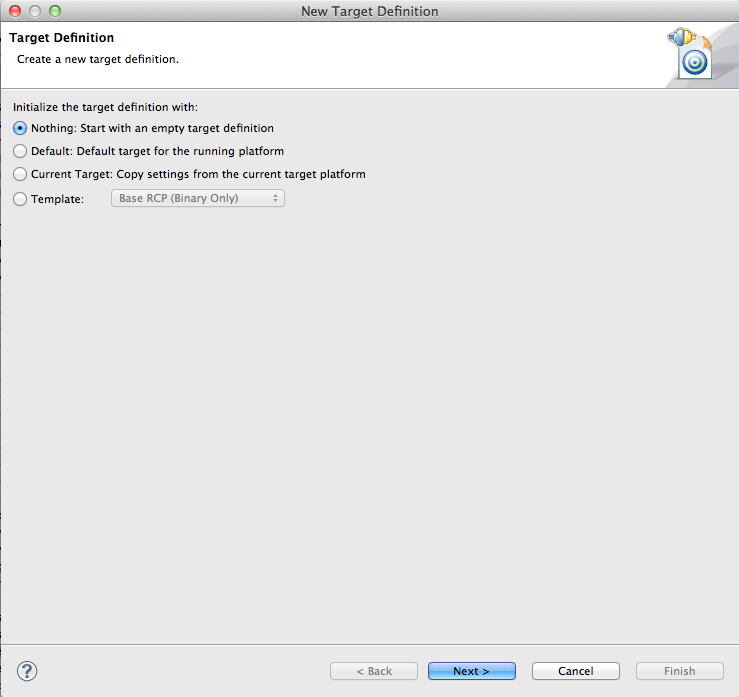
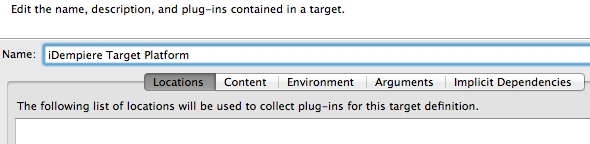
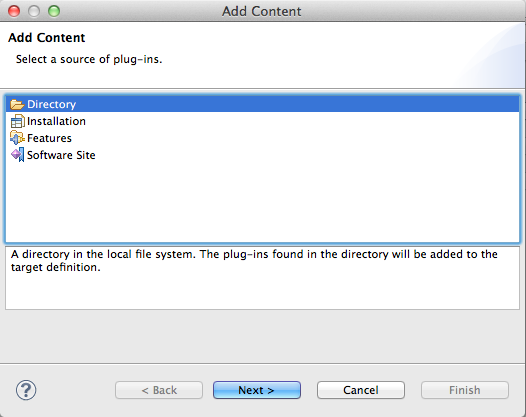
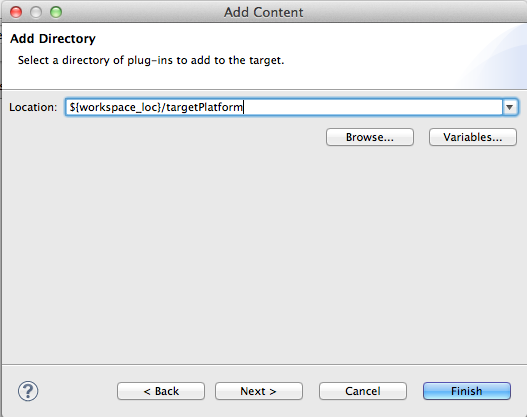
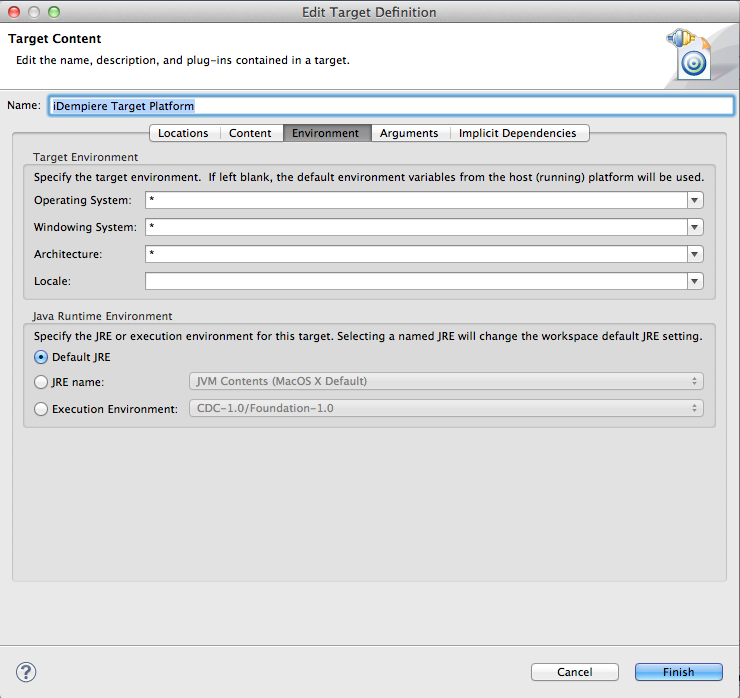
Create a new target platform in the Eclipse preferences.
Create a new empty directory within your workspace where all the other stuff is located now called: targetPlatform
Preferences -> Plug-in Development -> Target Platform -> Add
Follow the steps on the screenshots:
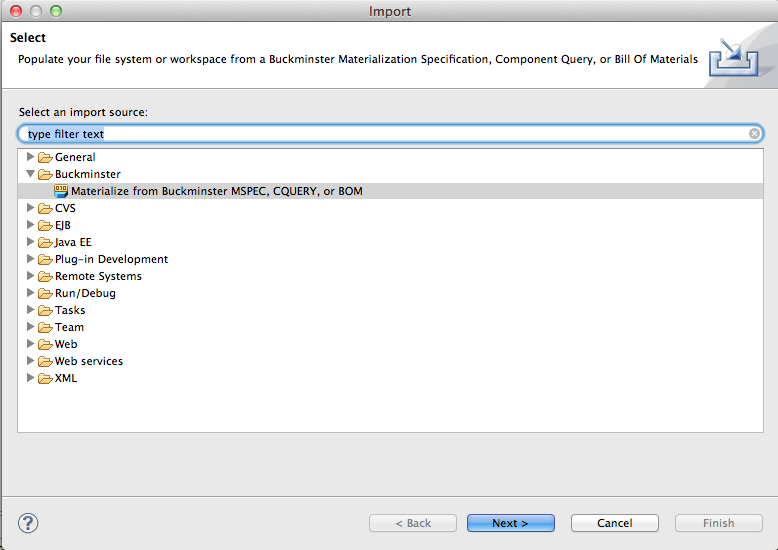
Close the preferences window if you are done and right click into the project explorer and click import.
Choose buckminster:
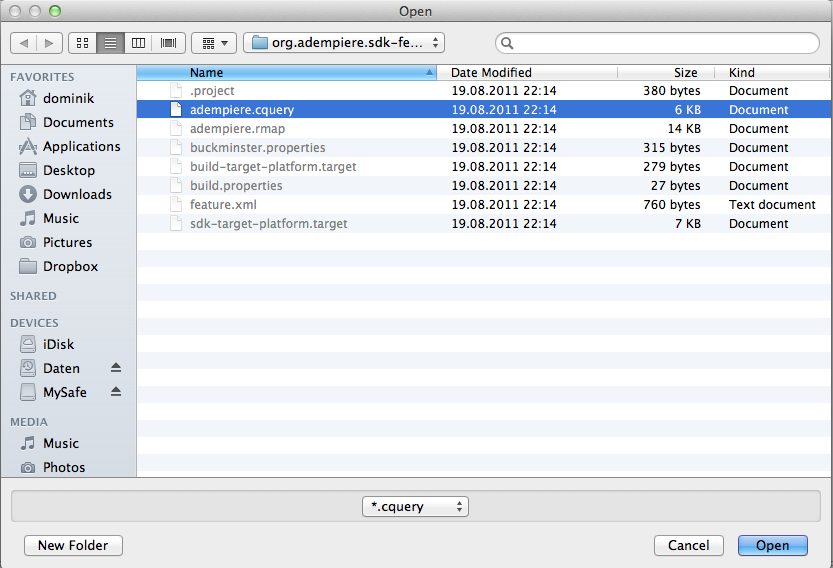
And click Finish to start the process. This takes a while.
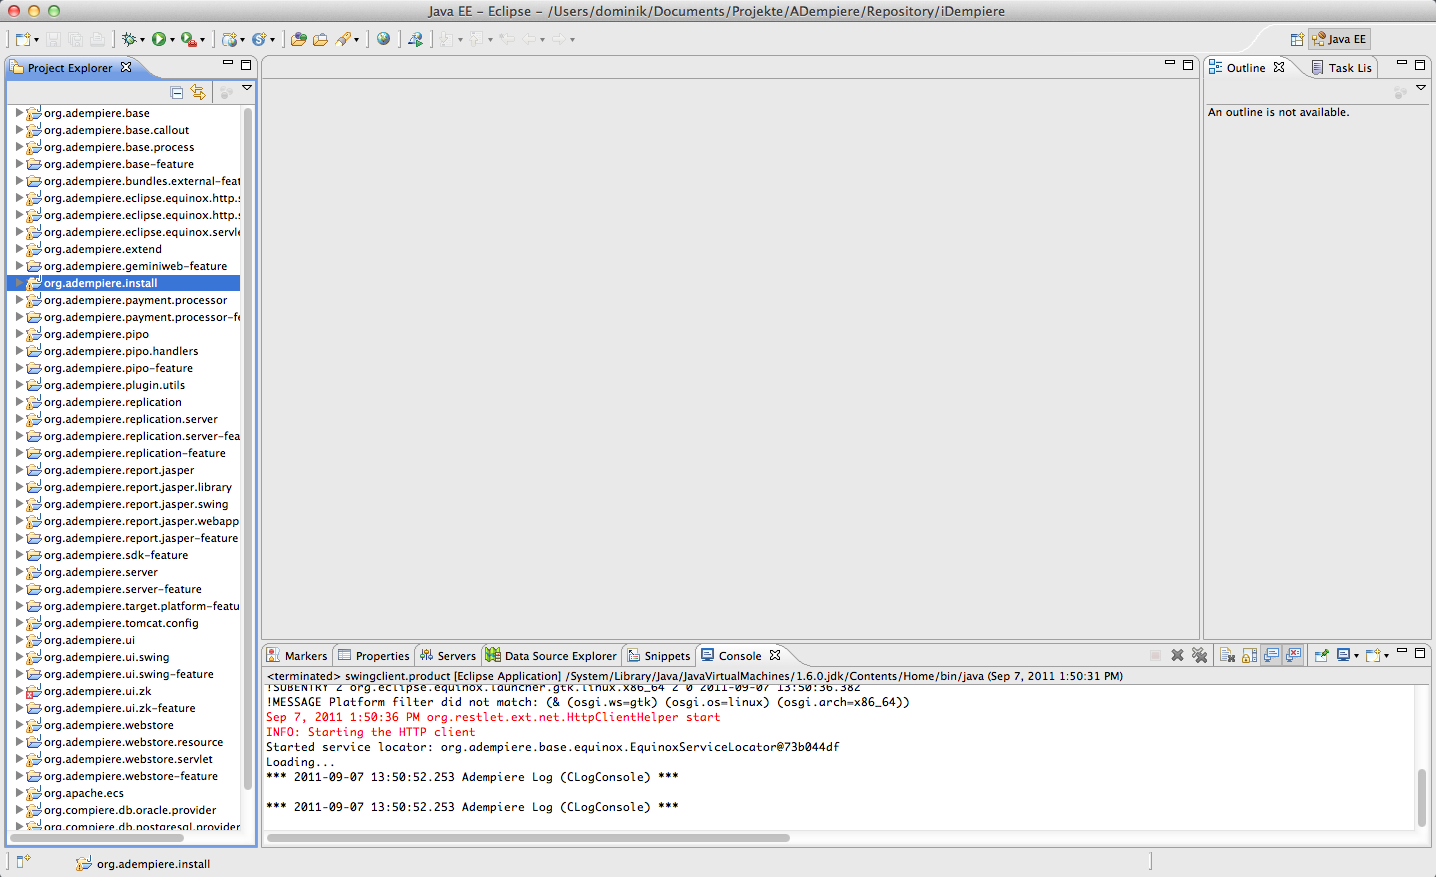
You Eclipse should look something like this now:
If you want to start the java client out of eclipse now you can do this by selecting the org.adempiere.ui.swing package and right click -> run as -> Eclipse application.