Install FreeBSD 10.1 or FreeBSD 11 - CURRENT on Thinkpad T420
Posted on Wed 15 October 2014 in FreeBSD
This post is about installing FreeBSD 10.1 RC2 or FreeBSD 11 - CURRENT on a Thinkpad T420 with Intel graphics. This is for testing only up to now!
Work around the BIOS/UEFI bug:
The T420 comes with an unpatched BIOS/UEFI bug which prevents to boot from a default GPT partitioned harddisk or USB flash drive. I am not 100% sure but it looks like a bug on all T420, T520 and W520 models so not only the T420.
The bug seems to look at the first partition and if this partition is not what it expects it does not recognize it and fails to boot.To boot from USB you need to use the UEFI images. Since the first partition on a UEFI boot media is an UEFI partition if I am correct this works around the problem.
If you want to read more about the details, ask your search engine for: "T420 gpt boot problem". The internet is full of it and there are further information what you else can do to work around this bug. There are tutorials for other systems or how to create a custom partition layout that works, too.
I will show you a way to work with the installer here. This prevents you from installing on a ZFS root with GPT, since the UEFI boot loader code doesn't support ZFS root volumes, yet. This will change in future but lets go with ZFS and a MBR for now.
Update!
Allan Jude has committed a fix to be included with 10.2 for the gpt command to apply a workaround for this problem. If you're using the installer, it should detect if you have an effected model and should apply the patch. Let me know if you have problems with it or if this fixed the problem for you. Thanks to Allan to make this fix happen!
Hardware support for my model:
- Intel Graphics o.k
- Intel Wifi o.k
- ACPI Brightness control o.k (with -CURRENT) / not o.k (with 10.1 RC2)
- Power support o.k
Download the installation media
For FreeBSD 11 download image available here:
For FreeBSD 10.1 RC2 download the UEFI image available here (The not UEFI image will not boot on the T420!):
Prepare T420
Configure your BIOS/UEFI to boot both, UEFI and legacy boot with UEFI in first order.
Install FreeBSD minimal
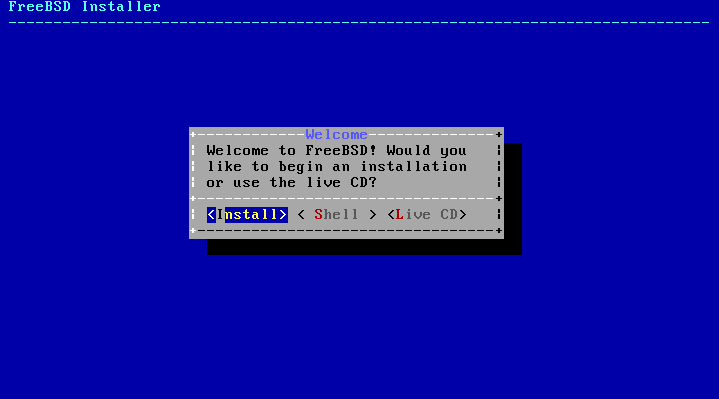
Choose Install:
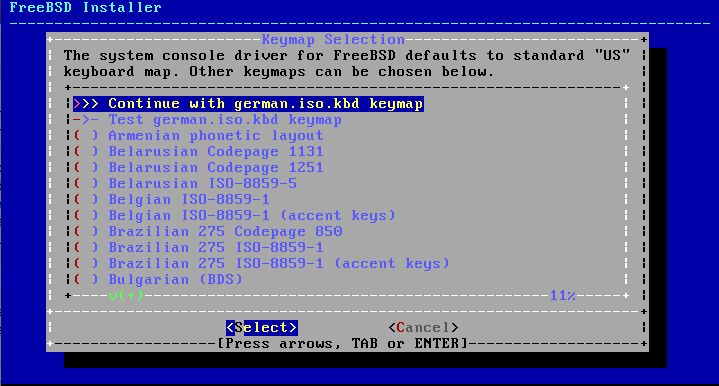
Select your keyboard layout. Please have in mind, if you encrypt your hard disk you have to know how you type your passphrase on the us keyboardlayout at boot time. Ping me if there is a way to change the keyboard layout at boot time.
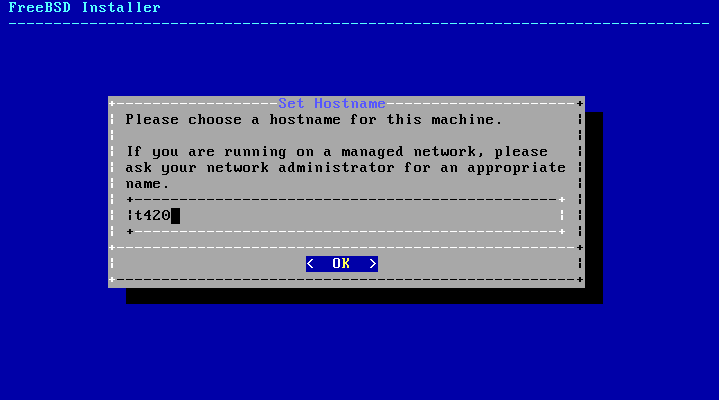
Set the hostname for your machine.
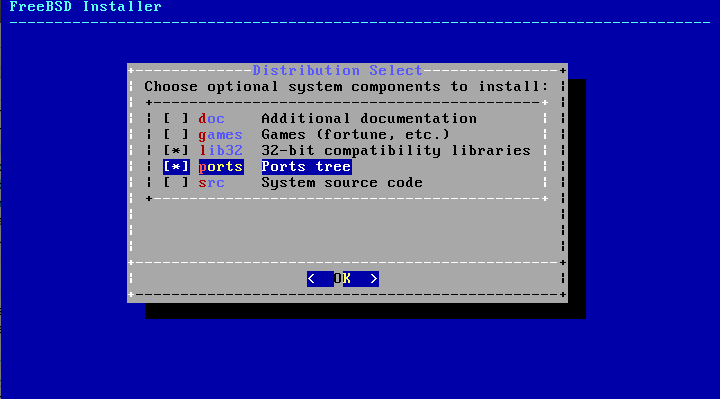
Choose the components you want to have installed now.
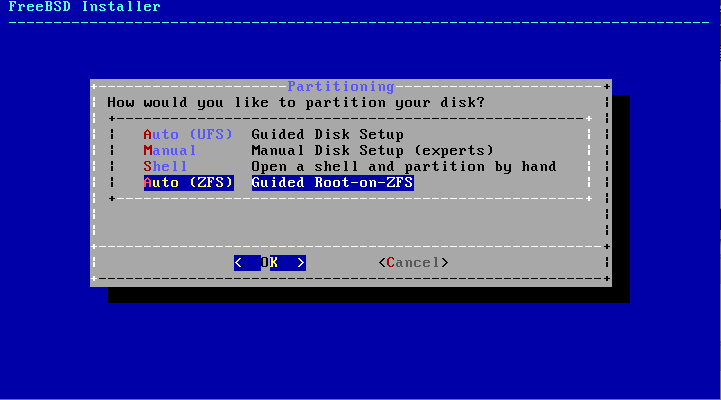
Harddisk setup
Select ZFS while installation and change the gpt default option to mbr. If you need it choose encryption for your system and for the swap partition. You always should encrypt your hard disk on mobile devices. If you loose your laptop or it gets stolen at least your data is protected.
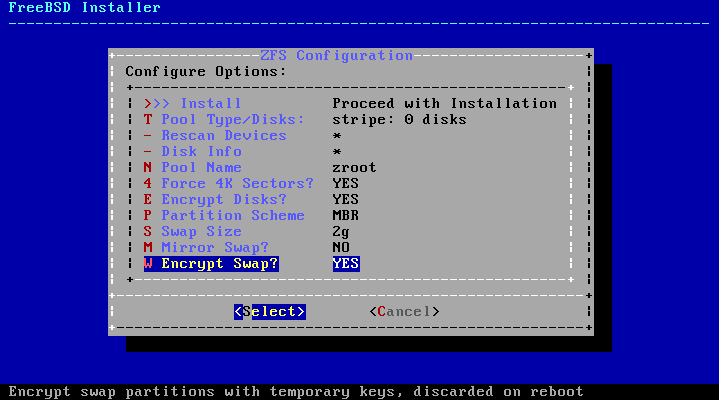
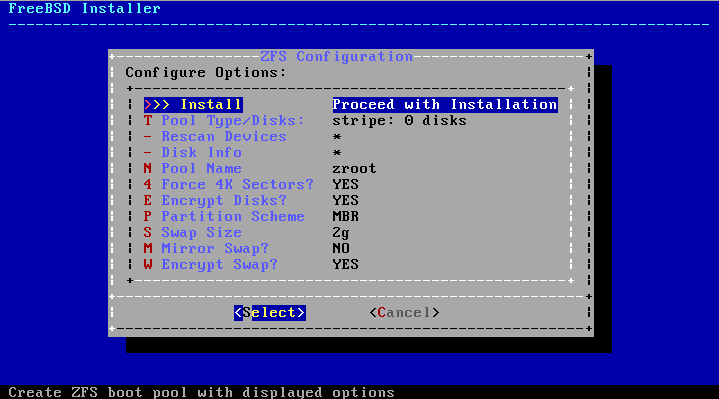
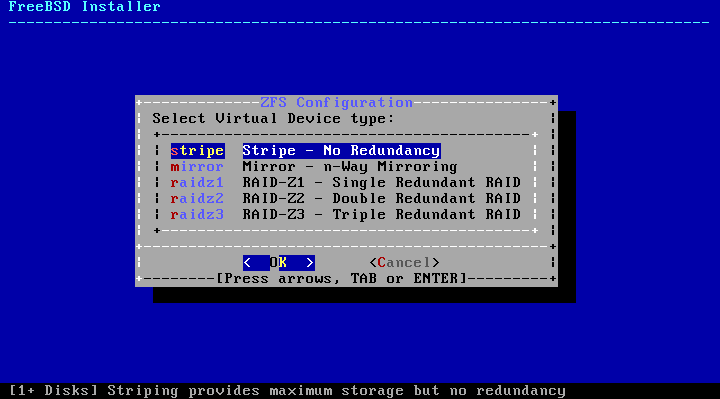
Because I have only one disk for FreeBSD in my T420 there is no redundancy and I choose stripe here.
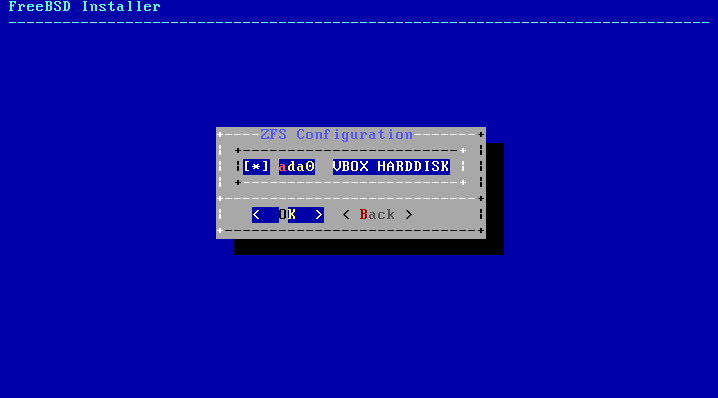
Select the harddisk you want install to. Here this is a VBOX HaRDDISK because I did a replay to make the screenshots ;-)
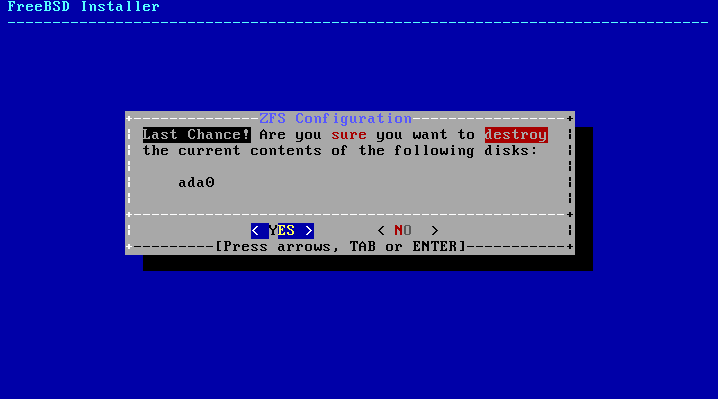
This is the point of no return!
Choose a long and strong passphrase for your disk encryption!
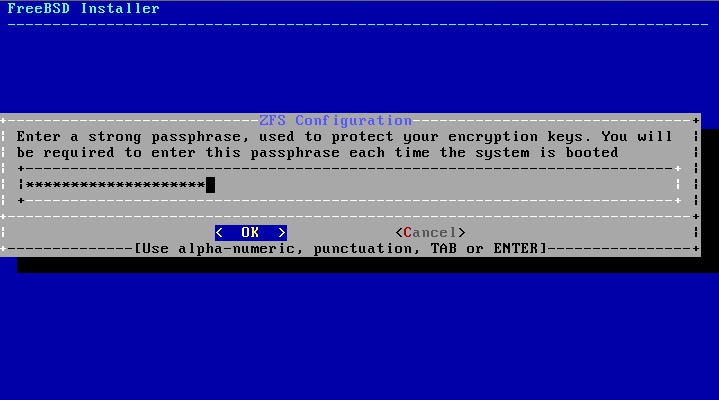
Remember the long and strong passphrase the first time ;-)

Now the sytem will generate and initialize the filesystem with your encryption keys.

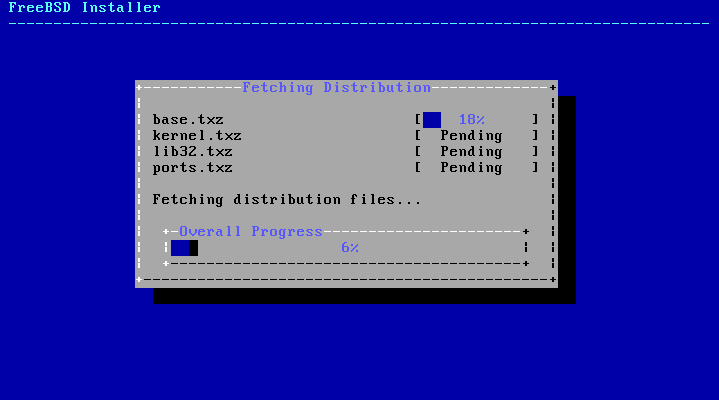
Now the installation process installs the selected components as usual.
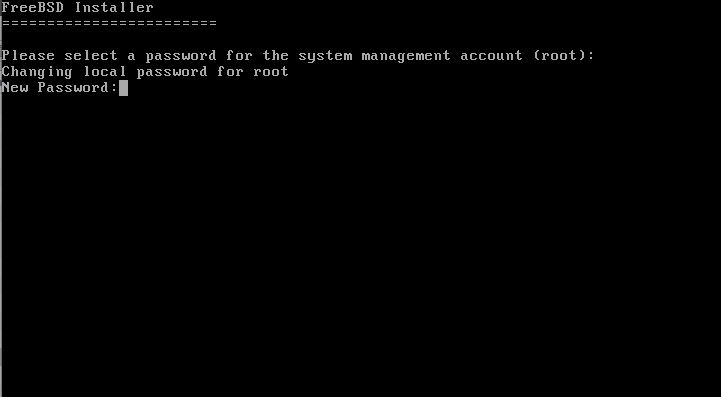
Set a strong root password and add you user to the system.
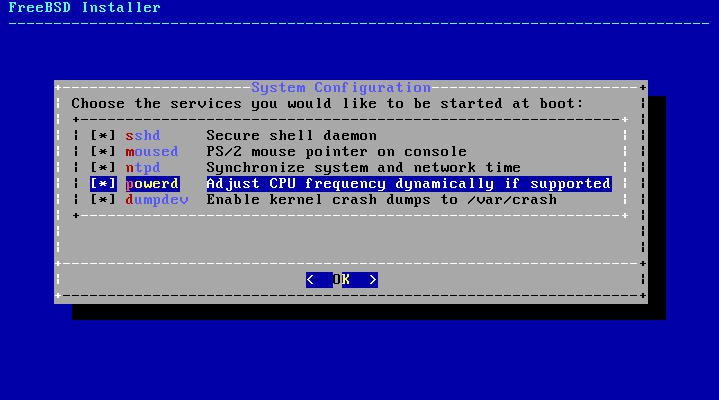
Here select the services you want to have started at boot time. I use all of them here.
The rest is not really interesting. Exit the process and reboot the machine when done.
Install packages
Login in to your new system and install the first packages and make some modifications to the system.
pkg update
pkg install xorg sudo tmux vim
Modify base configuration
Add the following lines to /etc/rc.conf
hald_enable="YES"
dbus_enable="YES"
performance_cx_lowest="Cmax"
economy_cx_lowest="Cmax"
moused_flags="-VH"
Hald and DBus are required to make X working correctly. The next two options are some power saving options which should improve your battery life. My T420 runs 4h+ with the standard battery and i3 as window manager. The last option enables the mid mouse button scrolling with the TrackPoint.
Add the following lines to /boot/loader.conf
kern.vty=vt
hw.vga.textmode="1"
acpi_ibm_load="YES"
acpi_video_load="YES"
hint.p4tcc.0.disabled=1
hint.acpi_throttle.0.disabled=1
drm.i915.enable_rc6=7
The first options are related to the new vt. This will enable you to switch between X and your console again. Without this after starting X I was not able to switch back to console.
acpi_ibm and acpi_video enables some features like extra keys on the IBM/Lenovo notebooks. With FreeBSD 11 - CURRENT acpi_video enabled the brightness control. With the 10.1 RC2 it does not work up to now. I am not sure if this will be merged into 10.1 but stay tuned at least 11 will bring this to you.
The last three options are power tuning options again. Read more here: https://wiki.freebsd.org/TuningPowerConsumption
Configure System for Xorg installation
X -configure
cp /root/xorg.conf.new /etc/X11/xorg.conf
Configure i3 to be your desktop environment
Install need packages or build it from ports:
pkg install i3 i3lock i3status dmenu
vi ~/.xinitrc
/usr/local/bin/i3
Install some useful software
Firefox is the quite well known browser, Thunderbird the email client and Hexchat is a XChat fork that works quite well.
pkg install firefox thunderbird hexchat
Set keyboard layout
Create the file: /usr/local/etc/hal/fdi/policy/x11-input.fdi
<?xml version="1.0" encoding="ISO-8859-1"?>
<deviceinfo version="0.2">
   <device>
    <match key="info.capabilities" contains="input.keyboard">
      <merge key="input.x11_options.XkbModel" type="string">pc105</merge>
      <merge key="input.x11_options.XkbLayout" type="string">de</merge>
    </match>
   </device>
</deviceinfo>
This does not work for KDM!
In KDM this didn't work for me. To set the keyboard layout correct in KDM you need to add the following line to: /usr/local/share/config/kdm/Xsetup
setxkbmap -model pc105 -layout de
Of course you need to replace the de with the layout you prefer. The layout in KDE itself can be modified using the system settings configuration of you input device as mentioned in this post.
Update 1
In a previous version of this Blog post I mentioned to use slim as login manager. I ran into some bugs with it and tried to find the source code and project page to get them fixed, but it looks like the project is dead and not developed further. Please stop using it if you do and choose one of the many other options around (XDM, GDM, KDM, Entrance, LXDM, MDM, Qingy).
Update 2
I added the mouse scrolling configuration option the the /etc/rc.conf file to make the scrolling working with the TrackPoint or mid mouse button.