Install KVM on CentOS
Posted on Tue 19 April 2011 in CentOS
How to install KVM virtualization technologie on CentOS 5.4. This Howto explains step by step how to install KVM and how to create a VirtualMachine using Virtual Manager GUI.
Before you install KVM you need to verify that your CPU is compatible.
One of the following keywords needs to be in your /proc/cpuinfo: SVM (AMD) or VMX (INTEL)
Just grep /proc/cpuinfo for these keywords:
egrep 'vmx|svm' /proc/cpuinfo
If everything is right we need to install KVM:
yum install kvm
This will install a few packages.
For better console management tools install qemu:
yum install qemu
And if you want to use VirtualManager as GUI-Interface:
yum install virt-manager
Now reboot your system:
reboot
After reboot you need to load the kernel module for your processor:
AMD:
modprobe kvm-amd
INTEL:
modprobe kvm-intel
Start the libvirtd service:
service libvirtd start
and add libvirtd service to your default runlevels:
chkconfig --add libvirtd
add your user to kvm group:
usermod -G kvm -a <username>
start Virtual Machine Manager via menu or run:
virt-manager
maybe you need to enter your root password.
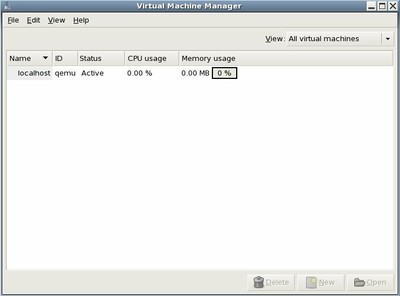
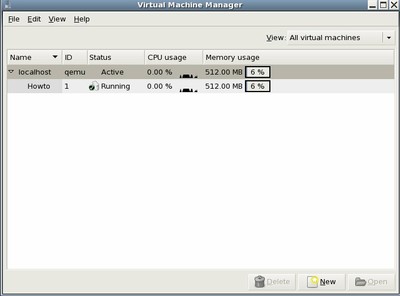
This windows should appear.
Now select your host and right click on it.
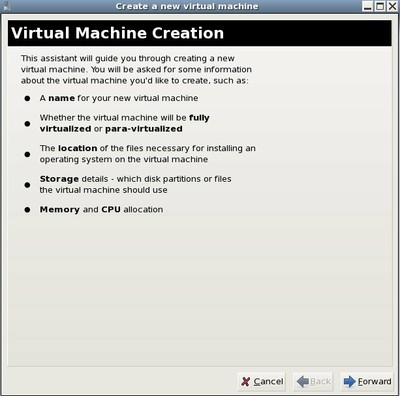
Select new and a wizzard will appear.
Follow the instructions and create your new virtual machine.
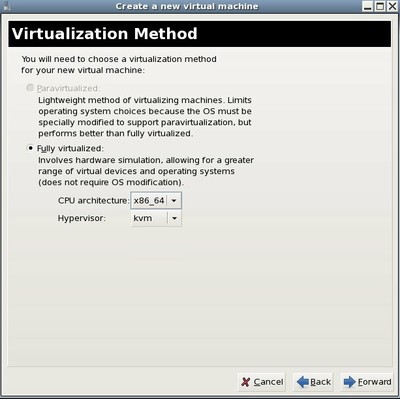
Choose your architecture and hypervisor.
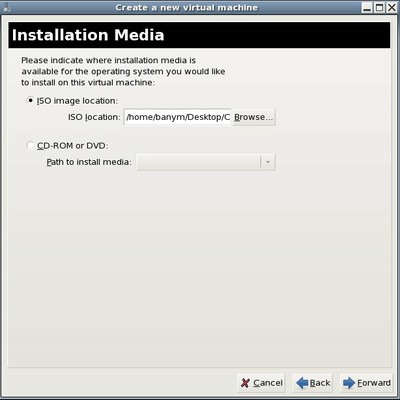
Now select installation media.
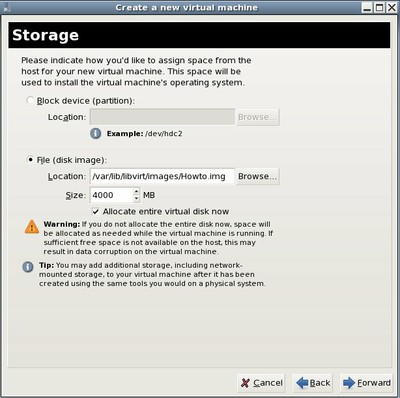
Create a new harddisc image.
Create a new harddisc image.
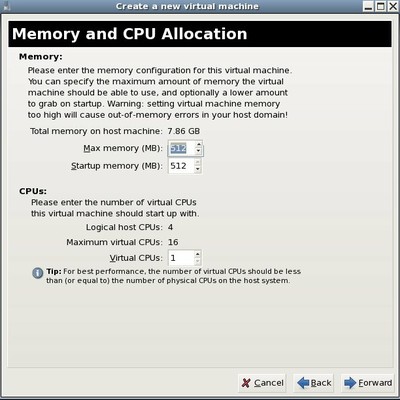
Memory options for your virtual machine. For virtual CentOS installation 512MB is o.k.
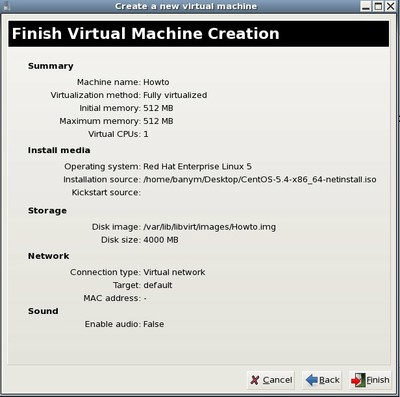
Review the values and click Finish.
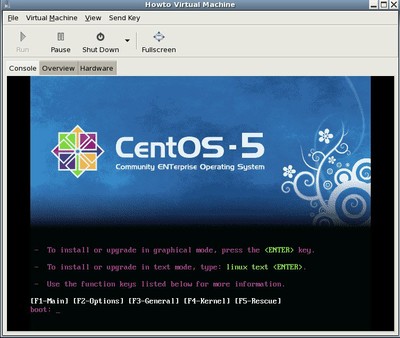
The image will be created and machine will be started in a new window.
Now you can install the OS. The Virtual Machine Manager window shows you all information about your running VM's.
Here are some more information about KVM and CentOS.
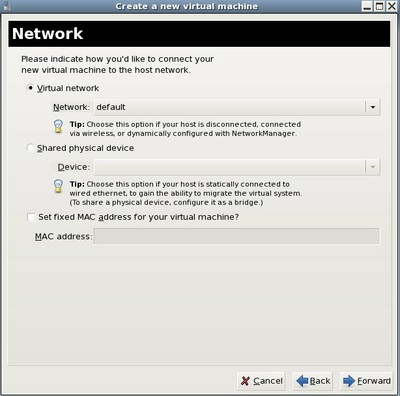
If you want to use the virtual machine in the same network your host is working you need to setup a bridge device.
